
First mouse over an area of the stage that is free of message content. It is easier to locate the row by enabling Show/Hide structure.
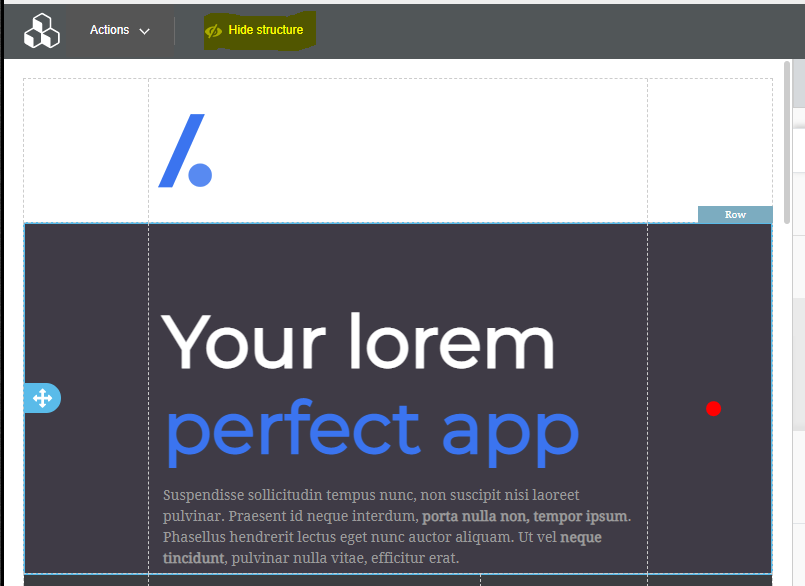
Select the Row by clicking on a content free area (Like the red dot in the above image).
The right side of the editor will now show you some properties. They will apply to the entire row (e.g. background colour, background image, padding, etc.). You will also be able to delete, copy or move the row using the controls displayed on the row.
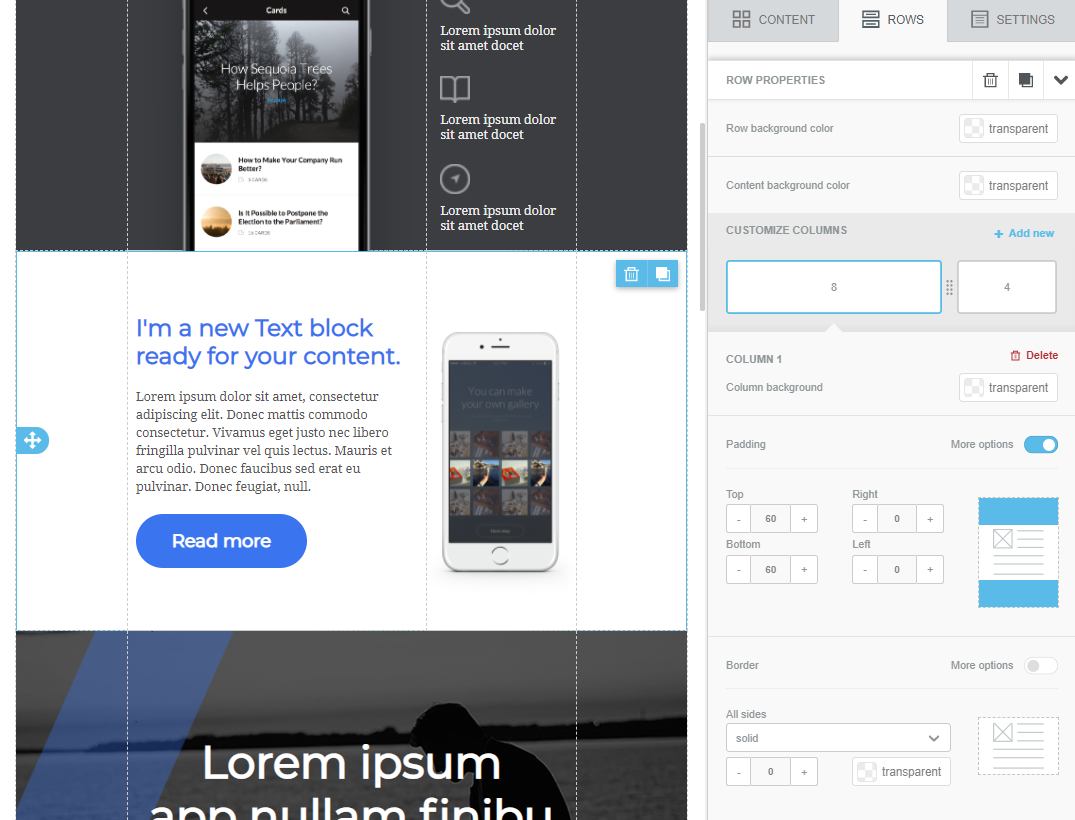
On the right you can:
- Set the colour of the entire background of the row, this will sit behind the content (unless the content has a transparent background). Note that a background colour for the entire email can be set on the settings tab, the row background colour will overwrite this background colour unless the Row background is set to transparent.
- Set the content area background colour for content on this row. If this is transparent, it will show the row background colour (or the email background colour as noted above). Further, a default content background colour can be set on the settings tab, which will be used as the default background colour for content areas.
- Column settings. When you add a row to your email, will choose one with the column layout that you think best suits your design, but you are not limited to that layout. IN the row settings you can change the width of each column, delete a column or add a new column. Not that the sizes of all of the columns in a row must add up to 12.
- By selecting individual columns in the right pane you can control settings that are applied to the selected column only. These include the column background colour (will default to the Row background colour), the amount of padding (spacing) around the content in the column and to apply a border to the content in the column. Note that selecting More options allows you to control padding and border differently on each side.
A note on the consistency of your content: By setting the background colours and font on the settings tab and not amending these on the Row setting or HTML editor settings (unless doing so is part of your intended design) will result in a consistent look throughout your email.
See more tips for using the Pro Editor here, note some features may not be available with the MemNet implementation of the editor.
Comments
0 comments
Please sign in to leave a comment.